


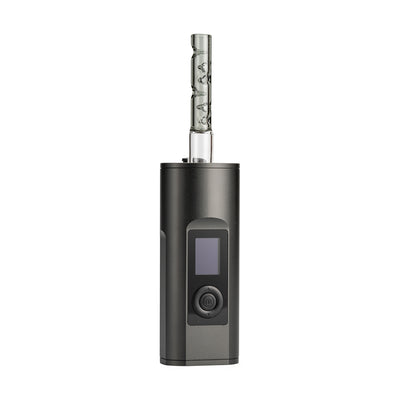
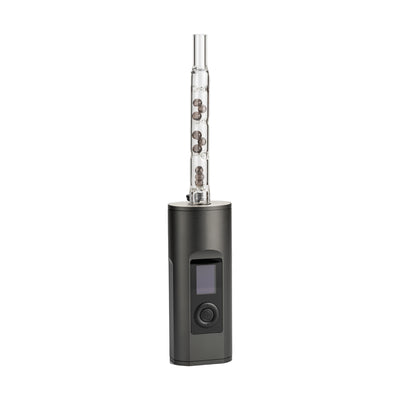
The Arizer Solo II brings great flavor and a unique experience to the table, and if you just picked one up, you made a great decision. You might still need a little help getting it up and running, however, and our Solo II Quickstart Guide is just the trick.
What’s in the box
- Arizer Solo 2 Vaporizer
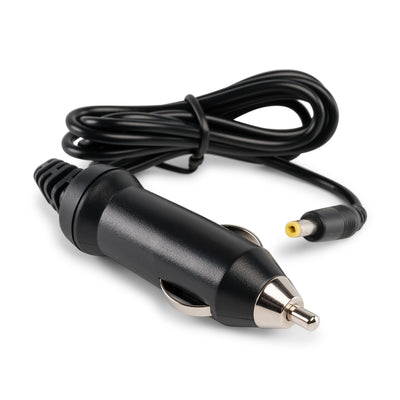
- Power Adapter
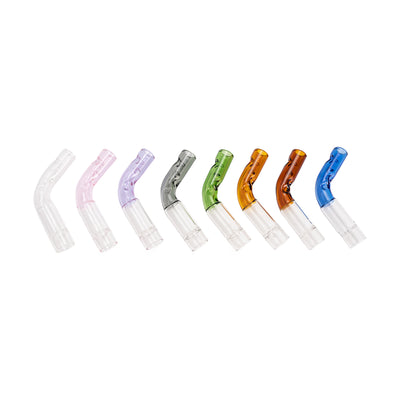
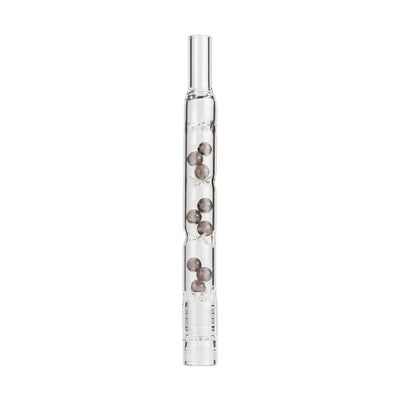
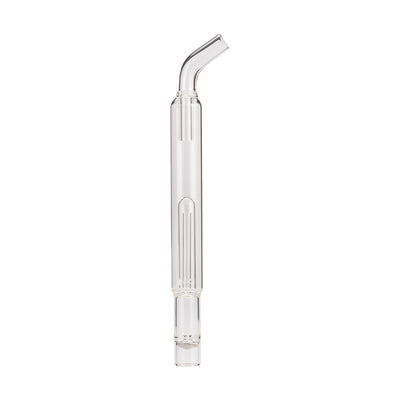
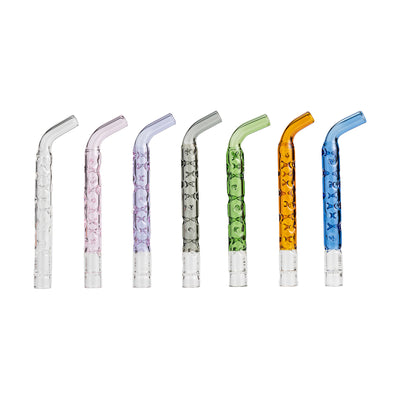
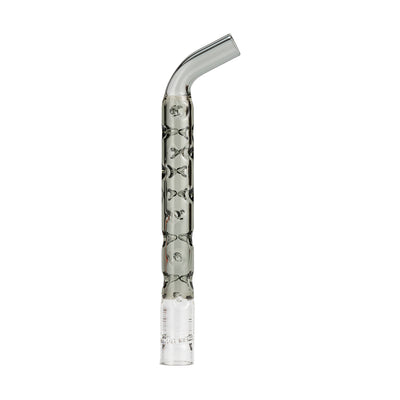
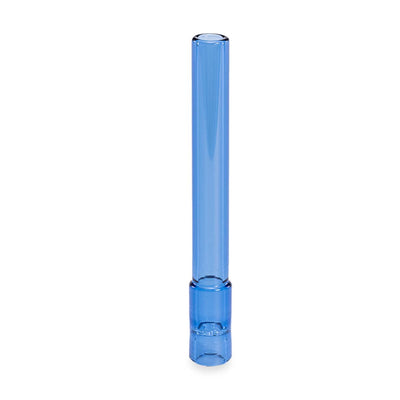
- 90 mm Glass Aroma Tube
- 110 mm Glass Aroma Tube
- Glass Aroma Dish
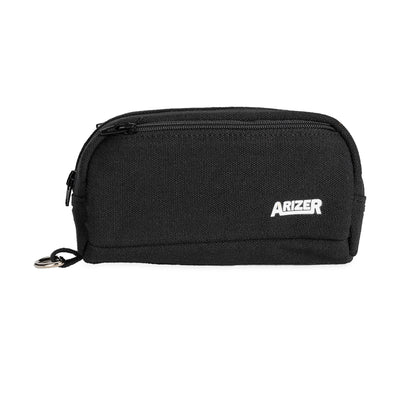
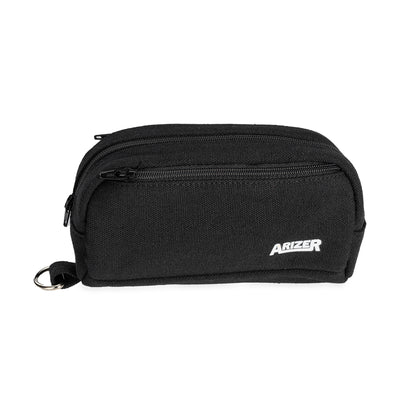
- Belt-Clip Carry Case
- Silicone Stem Caps
- Stainless Steel Stirring Tool
- Stainless Steel Screens
- Sample of Aromatic Botanicals
- Owner’s Manual


Charging
While the Solo II may come out of the box with some amount of charge on it, we recommend fully charging the battery before your first use. This could take over four hours the first time, but won’t take as long on subsequent charges.
Burnoff
Once the battery is charged, it’s a good idea to run a burnoff cycle with the Solo II, to make sure there aren’t any leftover residues from manufacturing or shipping. With an empty oven, turn the power on, set the temperature to 428° F (220° C), and let it run until it shuts off on its own, which should take 10 minutes by default. If you smell anything offputting, repeat the process.

Controls
Hold down the middle and top buttons to turn on the Solo II. You can use the up and down arrows to set the temperature, which will initiate the heater, and the heating icon will turn on. The small numbers on the bottom are the target temperature, and the upper numbers are the current temperature.

Advanced settings menu
The Solo II has a number of more specific settings to customize your sessions. Press the center Menu button to enter the settings menu, then use the up and down arrows to change the settings. Click the center menu button again to cycle through the menu options, or don’t press anything for a few seconds to go back to regular operating mode.
Coarse grind
When grinding for the Solo II, we recommend a medium to coarse grind, or none at all. The Solo II is more than happy to handle even full chunks of herb without any grinding, but if it’s too fine, some of the bits can pull through the screen and into your mouth.
Packing
To load the Solo II, plunge the open end of one of the stems into your ground herbs. Gently tamp it down, just enough to stay in place, so that the herbs don’t fall out mid-session. You want to leave about one millimeter of space at the end of the stem, so you don’t singe any materials that sit too close to the heater.

Your first session
Before you start heating the Solo II, you’ll want to insert the glass stem. With the herbs facing towards the oven, carefully wiggle the stem into the top of the vape, just enough so it fits snugly inside. We recommend starting out at 390° F, or 199° C the first time around. Once it reaches temperature, take long, slow draws, for ten seconds or more each. If you find it’s a little tough to draw, pull the stem a little further out from the oven to open up the air flow. Be careful with the stem when you pull it all the way out, because it gets hot after use.
Clean up
It’s important to clean up the Solo II immediately after you finish an oven. The oven-end of the stem can get pretty warm, so the best way to empty your stem is to remove it, and blow on the mouthpiece-end. You should also turn the vape upside down and blow into the oven lightly to dislodge any bits that might have fallen in. If your Solo II doesn’t smell so fresh, our full cleaning and maintenance guide can have it looking new again.