Is your Crafty+ vaporizer in need of some cleaning? This pocket-sized vaporizer pumps out great vapor, but with heavy use, some gunk can build up in the cooling unit. Our step by step guide will walk you through the process of disassembling, cleaning, and reassembling your Crafty+ vaporizer, or at least the relevant parts.

How often should you clean?
While cleaning is all up to your personal standards, there are a few telltale signs it might be time for more than a quick brushing out. If you can smell the Crafty+ when there isn’t anything in the oven, it’s probably time for a cleaning. You may also notice a decrease in efficiency, or odd flavor in your vapor, in which case you should follow the steps below to deep clean the Crafty+.
What you’ll need
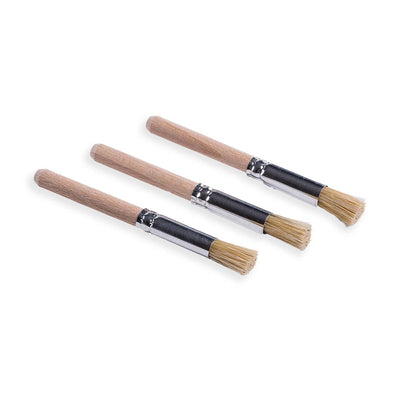
To clean your Crafty+, you’ll need some rubbing alcohol, cotton swabs, and a glass cup or jar to soak some pieces in. You can soak all the plastic components except the cap lock with the hologram in the rubbing alcohol, but not the o-rings, which should just be rinsed in hot water.
What needs to be cleaned
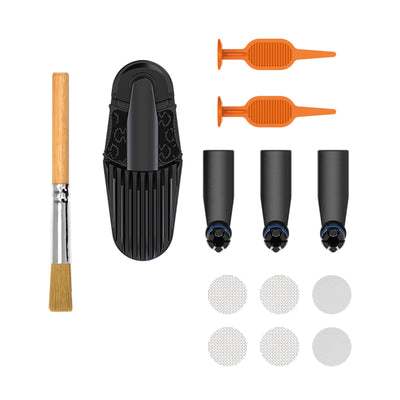
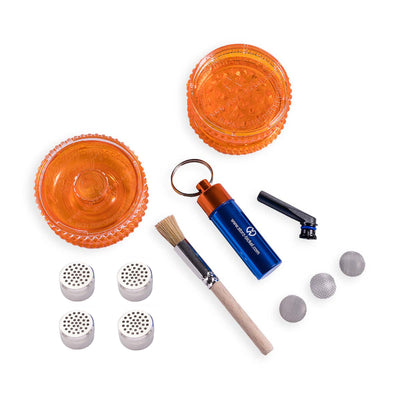
Our cleaning is going to focus mainly on the cooling unit, where most of the buildup will happen. The oven requires a little bit of cleaning from time to time, although you can avoid that by sticking to the dosing capsules instead of loading herbs directly into the oven. The bottom part of the Crafty+ shouldn’t need any work at all, just be careful to keep it dry as you work on the other components.

Setting the scene
There are a few steps involved in taking apart your Crafty+’s cooling unit, so start by detaching it from Crafty+. Wiggle the mouthpiece back and forth to remove it from the cooling unit, then use the stirring tool to remove the blue o-ring, and set it aside. Remove the cap lock -- the piece with the hologram -- by sliding it back and pulling it off. You don’t need to clean it, and you don’t want to soak it in rubbing alcohol, or it might discolor the hologram.

The cooling unit
Let’s dig into the cooling unit. Separate the upper and lower halves by pushing down on the oval shaped button on top, while pulling the halves apart. A little bit of twisting and wiggling can help here. If it’s really tricky, mount the cooling unit on the vape with nothing in the oven, heat it up to regular temperatures, then take a few draws on it to loosen anything holding the two halves together.

The pointy end of the stirring tool will once again come in handy to remove the o-rings inside the cooling unit. (Look for the divot in the plastic rim near the o-ring - it’s where you can use the stir tool without damaging the o-ring.) You can use a cotton swab to gently push the screen out from the bottom of the cooling unit through the now open top side, but it’s hard to get it out without damaging it.

Soak or scrub?
You can soak all of the plastic and metal parts, except the holographic cap lock, in rubbing alcohol, but only the metal should soak for longer than an hour, and 30 minutes is typically enough to clean most of the gunk off the plastic parts. If there are still any deposits, you can use a cotton swab dipped in rubbing alcohol to scrub at them. Once everything is clean, make sure to rinse it thoroughly in hot water and let it dry.

The oven
If you need to clean out the inside of the oven, make sure to do so carefully, as you don’t want any alcohol dripping down into the heating element or electronics. Turn the Crafty+ upside down, and use a cotton swab dipped in rubbing alcohol to swab out the inside of the oven. If a dirty oven bothers you, the dosing capsules are easier to clean, and will keep the inside of the oven looking fresh.
Putting it back together
Once everything has been rinsed and dried completely, it’s time to reassemble the pieces. Set the screen into the bottom half of the cooling unit, put the o-ring back in place between them, then fit the two halves together. Slide the cap lock back into place, then replace the o-ring on the mouthpiece and wiggle it back into the hole on top of the cooling unit.