Note: This quickstart guide covers the previous generation of PAX Mini vaporizers, which have only one temperature setting. This guide does not cover the latest PAX Mini vaporizer.
PAX Mini Quickstart Guide
The PAX Mini dry herb vaporizer strips itself from all of the extra settings and modes for a no-fuss vaping experience. In this guide, we’ll get you up to speed on your new vaporizer and how to use it, and then set you up with a great first session. So open up your new PAX Mini and let’s get started.
For an in-depth review of the PAX Mini, check out our full PAX Mini Vaporizer Review.
Quick rundown
- Fully charge the PAX Mini before your first session
- Clean the PAX Mini with a burnoff session
- Grind and pack with herbs
- Click the button once
- Hit it when it turns green
- Turn it off and clean out the oven when you’re finished.
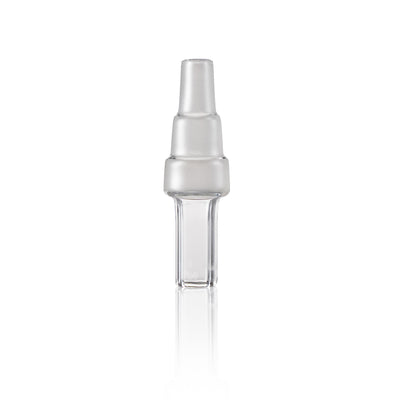
- Pro Tip: Grab the Glass Accessory Adapter for PAX
What’s in the Box
- Pax Mini Vaporizer
- Flat Mouthpiece (Installed)
- Raised Mouthpiece
- Oven Lid (Installed)
- Wire Brush
- USB Charger
- User Guide & Manual

Fully charge the PAX Mini before your first session
We always recommend you fully charge your vaporizer before you dive into your first session. The PAX Mini portable vaporizer will arrive with about half a charge, so grab the charge cradle, connect it to a power source, and place your PAX onto it face up. Give it a little wiggle or push if its lights don't turn on right away. All four LED petals will light up white when it’s fully charged and ready to go.

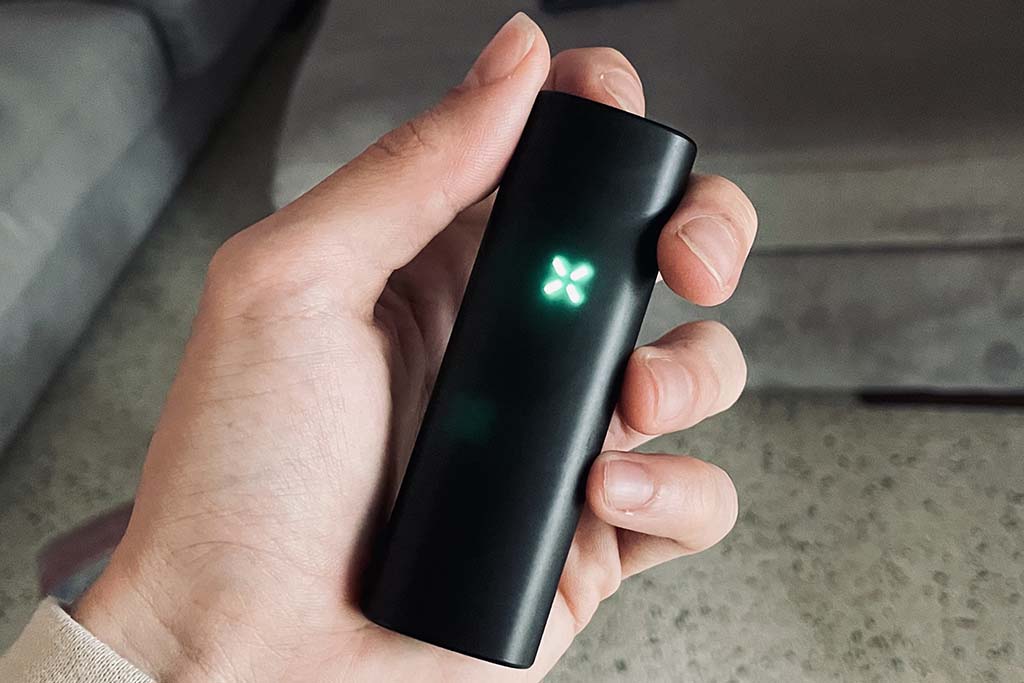
One button is all you need
The PAX Mini might be the easiest vaporizer to use with only a single button, located under the mouthpiece at the top, and a single heat setting to play with. It heats up to a low temperature and fluctuates based on your draw style.
Click it once to turn it on and it will immediately turn purple to let you know it’s heating up, and then turn green when it’s ready to hit. Set the PAX Mini down and after 30 seconds it’ll turn blue and start to cool down to save your herbs. Pick it back up and it will immediately start heating back up.
Clean your PAX Mini with a burnoff session
Let’s run a burnoff session to cleanse the oven and vapor path of any manufacturing or shipping residues. Turn your PAX Mini on and let it run through a full session at temperature. A few minutes should be fine but run it as much as you’d like if it has any lingering smells. Just pick the vape up and reengage the heater when it goes into standby mode.

Grind and pack
The PAX Mini vaporizer is a pretty versatile vape but works best with a medium to medium-fine grind and a tight pack. Take any grinder you have and tear up enough herbs to fill the oven. Place your herbs inside and give them a firm pack. It doesn’t need to be too tight. Just enough to condense it down into the oven.

Click and go with easy sips
It’s smooth sailing from here on out. Just give the button a press and wait till it turns green. The mouthpiece is located on the top of the PAX Mini and pulls vapor through the little slit on the edge of the mouthpiece. When you’re ready, place your lips over the slit and give it a slow, easy sip. Airflow is tight on this vape, so relax into it and take your time. Wait a bit in between hits for the thickest vapor. It’ll ramp up as you go deeper into your session.

Do I need to stir my PAX Mini?
Nope. Even though the PAX Mini stays at a relatively low heat setting, it’ll cook consistently through your herbs, with no stirring necessary. The top of the load may be a little lighter than the rest, but that’s perfectly normal and there’s not much there to go after.
Dump the herbs and clean the oven
When you’re done, dump the herbs out of the oven before it sets in and starts to stick. Get in the habit and do this after each session to keep your vape cleaner for longer.
Be sure to check out our full PAX Mini Vaporizer Review.
Shop PAX Accessories
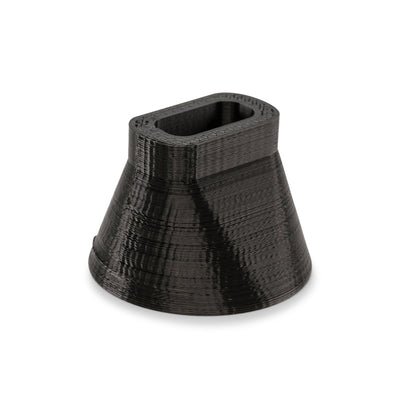

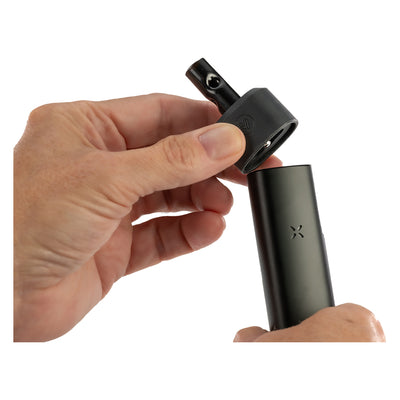
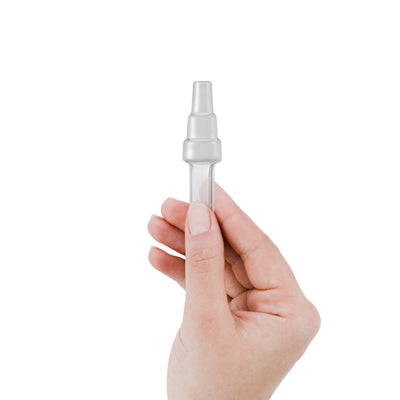
Pro Tip: Upgrade your sessions with the POTV Glass Accessory for PAX
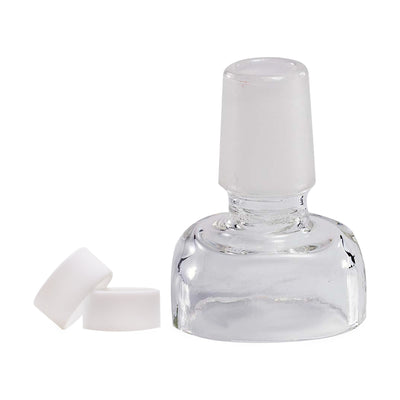
Upgrade your PAX sessions with the POTV Glass Accessory Adapter for PAX dry herb vaporizers. This adapter replaces the original mouthpiece and opens the doors to our collection of glass accessories for smoother, tastier vapor.
Take small, microdose-friendly sips or push the limits and go for the biggest draws with our glass accessories - only accessible with our Glass Accessory Adapter. Each accessory maximizes the performance of your PAX with broader, more versatile airflow that caters to both big hitters and easy-going sippers.
Read more about the Accessory Adapter for PAX here.

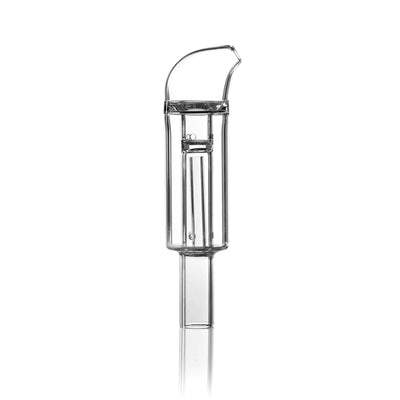
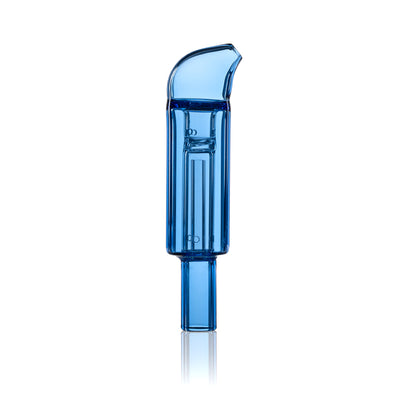
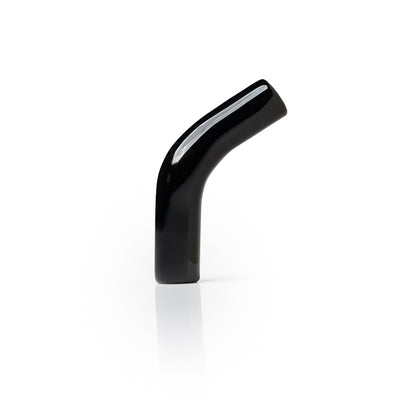
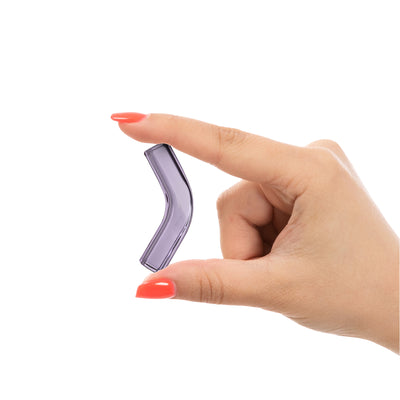
Personalize your setup with our colored Glass Accessories
If you’re in the market for some new glass accessories for your PAX, consider personalizing your setup with one of our colored glass stems and bubblers. Enjoy a calming, sky Blue or an Earthy, Green edition of our Bent Glass Mouthpiece, Waterpipe Adapter, Mini Bubbler, and Curved Mini Bubbler. (Glass Accessory Adapter for PAX required)