⚠️PAX has discontinued their PAX 3 vaporizer. Check out the newly updated version, the PAX Plus vaporizer for a more advanced, streamlined experience.
Read the PAX Plus ReviewShop PAX Plus
Table of contents
**On November 15th, 2019, Apple removed all vaporizing apps from its store, including the PAX app. PAX has since created a simple workaround for all Apple/iOS users. Check it out here.**
The PAX 3 adds a faster heating element, concentrate support, and a Bluetooth app to an already excellent vape, and you don’t need to be a vaporizer expert to fire it up and have a great session. Still, our quickstart guide will walk you through all the steps to get you up and running, and help you interpret the PAX 3’s flower petal language.
PAX 3 Quickstart: What’s in the box
The Basic Kit comes with the following:
- PAX 3 Vaporizer
- Charger
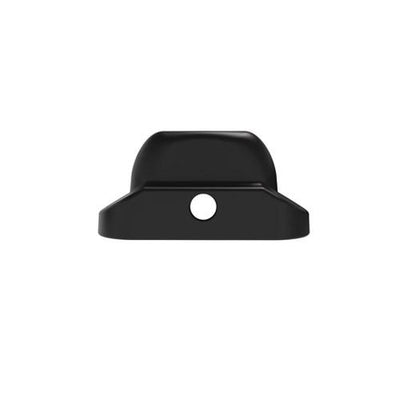
- Flat Mouthpiece
- Raised Mouthpiece
- 10 Year Warranty
- Cleaning Kit
- Standard Oven Lid
The Complete Kit includes everything above, plus these extra accessories:
- Half-Pack Oven Lid
- Concentrate Insert
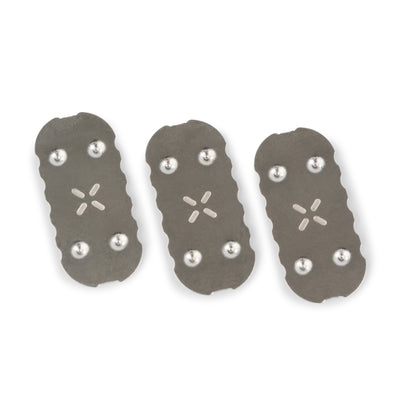
- Extra Screens
- Multi-Tool
- Carrying Pouch
Charge it first
Make sure to fully charge your PAX 3 vaporizer before your first use. Plug the cradle into a USB power source, then set the PAX 3 on top of it with the lights up. If it’s facing the right direction, the magnets direct it into place over the charging contacts. The number of petals currently illuminated will show you the battery level while it’s charging, and when it’s fully charged all four will be lit up. It will take around three hours to charge the first time, but subsequent charges will be slightly faster. When the PAX 3 dry herb vaporizer is on, shake it a few times to show the current battery level.
Petals and a hidden button
Turn the PAX 3 on by pressing the button in the center of the mouthpiece, which will start the heating process. The petals on the front will turn purple and flow upward as it heats up, and turn green when it reaches vaping temperature, which should take less than 30 seconds.

Changing the temperature
To change the temperature, hold down the mouthpiece button for a few seconds, until the petals on the front flash. The petals will then illuminate to show your current temperature setting. Press the mouthpiece button to cycle through temperatures, then hold the button or shake the vape to set it.
- Temperature setting 1 - 360ºF (182ºC)
- Temperature setting 2 - 380°F (193°C)
- Temperature setting 3 - 400°F (204°C)
- Temperature setting 4 - 420ºF (216ºC)
Before we use the PAX 3 for the first time, we’ll run a burnoff cycle.
Standby mode
If you set the PAX 3 down for a couple of minutes, the oven will start to cool off. This makes more efficient use of the battery, and keeps your herbs from cooking when you aren’t actively hitting it. When the petals turn blue, the vape is in standby mode. Picking it up, or touching the mouthpiece with your lip or finger, will cause it to heat back up quickly. After three minutes of inactivity, the PAX 3 will shut off on its own.

Burnoff
Now that the PAX 3 is charged and ready, let’s run a burnoff cycle to make sure there’s no residue left over from manufacturing or shipping. Turn the PAX 3 on with nothing in the oven, and turn it up to the highest temperature setting. Since the PAX goes into an idle state after inactivity, just sit with it for a few minutes, occasionally picking it up and moving it around. After three to five minutes, any odd smells should have dissipated. If not, repeat the process.
Grind extra fine
The PAX 3 works best with very finely ground herb. A two-piece grinder works best, but you can also turn over your favorite four-tier so that the herb stays between the teeth longer.
Pack it down tight
Press down on one side of the oven lid to lift the other edge, then take off the magnetic lid to reveal the oven. We recommend dumping the grinder contents onto a piece of paper, then using it to funnel them into the oven, which is just the lower, bare metal portion. You can pack plenty in there, and the PAX 3 works better with a tightly packed oven, so use the edge of the oven lid -- or the packing tool from the Deluxe Kit -- to level the herbs with the ledge inside the oven area. If you'd rather use fewer herbs, use the half-pack lid and pack half as much.

Three is key, four to finish
Turn the PAX 3 on by pressing the button on top, then hold it for a few seconds until the lights start to flash. Press the buttons to cycle through the heat settings -- we recommend the third heat setting, or three orange petals, to start with -- and hold the button for several seconds to lock it in. That should give you decently thick vapor, without any risk of that “burnt popcorn” flavor that less precise conduction vapes are known for. As the bowl starts to die off, bumping the heat level to the fourth setting, with four red petals, can help finish off an oven.

Light, short puffs
For best results, take short, light draws, like puffing on a cigar, or sipping a cup of hot tea. You want your lips placed at the edge of the device, on the side with a slight gap in the mouthpiece, or on the center of the raised mouthpiece where the holes are. You can get thicker hits if you give the vape 10-15 seconds between each draw.
No stir required
With the PAX 3’s tight pack and conductive heat, you won't have to mid-session. You may find that the herbs on top of the oven have a lighter color than the rest of the oven, but this is normal
Finish and cleanup
Emptying the oven right after each session can save you a lot of deep cleaning down the road. Once it’s cooled a little, brush out the oven and the underside of the lid. The oven’s color will change after the first few uses, and it won’t go back to that original look, even with cleaning.
If you’re interested in learning more, check out our PAX 3 Review.
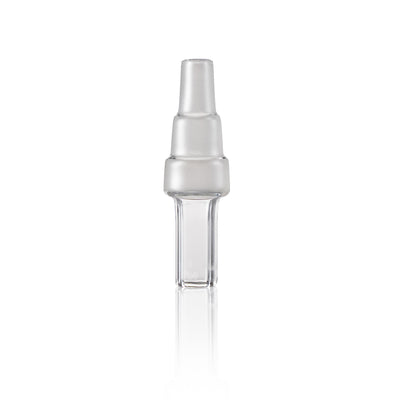
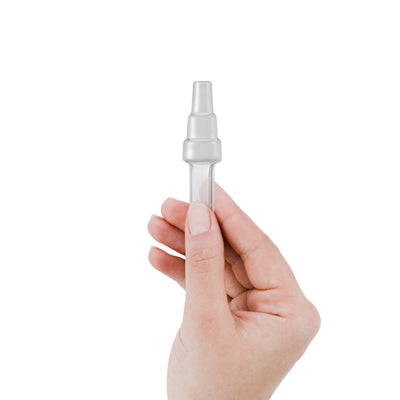
Upgrade your sessions with the POTV Glass Accessory for PAX
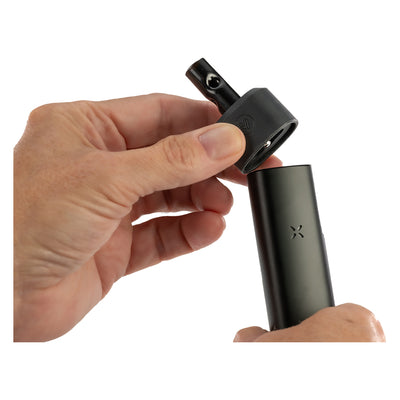
Upgrade your PAX sessions with the POTV Glass Accessory Adapter for PAX dry herb vaporizers. This adapter replaces the original mouthpiece and opens the doors to our collection of glass accessories for smoother, tastier vapor.
Take small, microdose-friendly sips or push the limits and go for the biggest draws with our glass accessories - only accessible with our Glass Accessory Adapter. Each accessory maximizes the performance of your PAX with broader, more versatile airflow that caters to both big hitters and easy-going sippers.
Read more about the Accessory Adapter for PAX here.

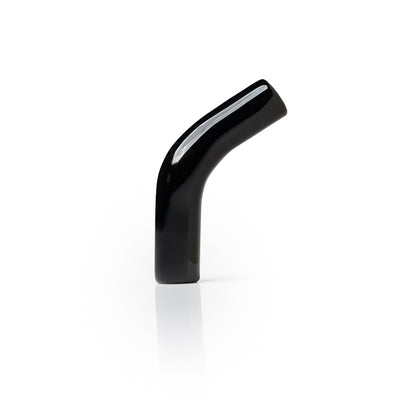
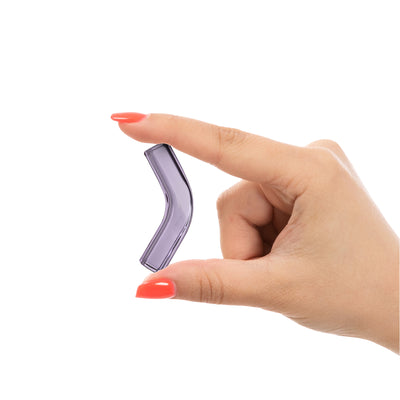
Personalize your setup with our colored Glass Accessories
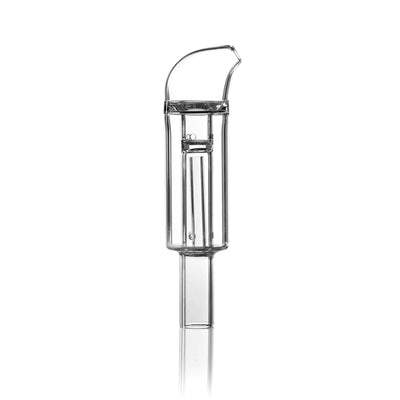
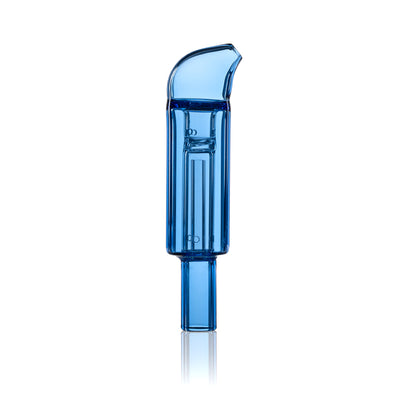
If you’re in the market for some new glass accessories for your PAX, consider personalizing your setup with one of our colored glass stems and bubblers. Enjoy a calming, sky Blue or an Earthy, Green edition of our Bent Glass Mouthpiece, Waterpipe Adapter, Mini Bubbler, and Curved Mini Bubbler. (Glass Accessory Adapter for PAX required)