Table of contents
Storz & Bickel has a reputation for easy to use vaporizers, and the Crafty+ is no exception. Its simple control scheme and elegant design make it a great choice for vaporizer enthusiasts who want to pack a session into their pocket, and don’t want to sacrifice when it comes to vapor quality. Our quickstart guide will walk you through your first session with the Crafty+, and hopefully answer any questions you might have.
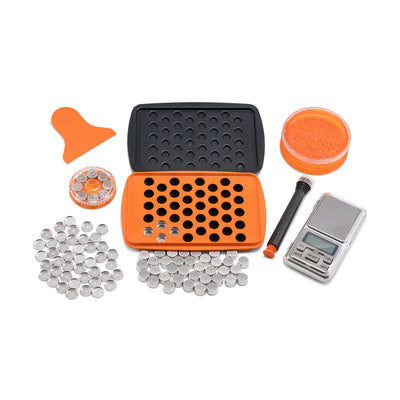
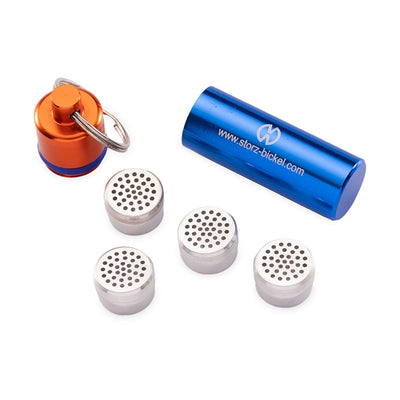
What’s in the box
- 1 Crafty+ Vaporizer
- 1 USB Cable
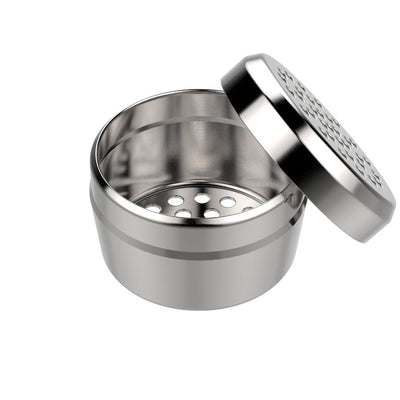
- 3 small Base Seal Rings
- 3 small Normal Screens
- 3 small Coarse Screens
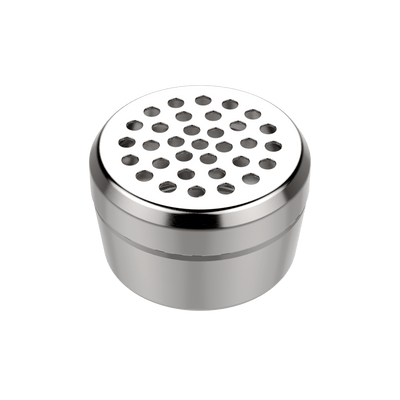
- 1 Dosing Capsule
- Safety Instruction for Use (concise)
- 1 Safety Instructions
- 2 small Stainless Steel Concentrate Pads for concentrates (2020 Version Only)
- 1 Cleaning Brush (2021 Version Only)


Already charged, top it off
Storz & Bickel ships the Crafty+ with the battery already charged to 80 percent, but we recommend plugging it in and charging it up the rest of the way before use. It normally takes one and a half hours to fully charge from empty, so it shouldn’t take long to top it off the first time around.
Time for a burnoff
Like a lot of vaporizers, we recommend running a burnoff cycle before use to make sure there’s no residue left over from manufacturing or shipping. Turn on your Crafty+, triple-click the button so that it flashes red quickly, and let it run until it shuts off on its own. If you notice any odd smells when it's done, run as many burnoffs as necessary to get rid of them.

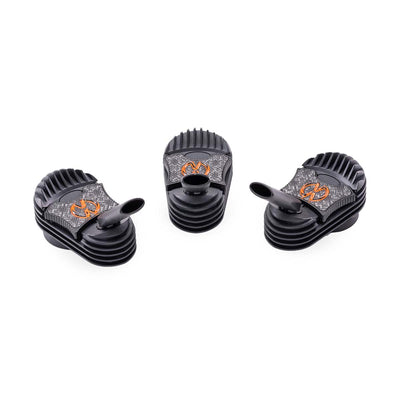
The cooling unit
The Crafty+ uses a removable cooling unit to make sure that every hit is as smooth as the last. Twist it 90 degrees counterclockwise to unscrew it from the vaporizer, exposing the oven underneath.

One-button operation
The Crafty+’s compact size doesn’t leave room for a display, or full controls. Instead, the Crafty+ uses a single button to control its basic functions. Click the button once to turn it on and start heating up, as indicated by the solid red LED. When it’s ready to vape, the light will turn green. Double-click the button to activate boost mode and increase the set temperature to 383° F, and triple-click it to finish things off at 410° F. The Crafty+ will shut off automatically after it’s been idle for one minute. To turn it off sooner, press and hold the button for one second until the LED turns blue.
Grind your herbs
We recommend using medium ground herbs with your Crafty+, although any grind will do, including whole herbs. If you want a finer grind with your three or four piece grinder, turn the grinder upside down so the herbs grind for a little longer than they would normally.

Cover the oven with herbs
When loading your oven, you want to pack it down just lightly, but ensure that the whole width of the oven is covered, so that the air has to pass through the herbs, and can’t go around. If you can’t fill the oven completely, put the included concentrate pad on top of a small amount of herbs, to take up the rest of the space. The filling aid makes the whole process a lot easier, and included diagrams can help show you exactly how full to fill each oven. You can also use the plug inside the filling tool to make sure the herbs are packed down into the oven.
Close it up and go
Place the Cooling Unit back on top and twist it clockwise to lock it in place. For your first session, go ahead and fire up the Crafty+ on its default heat setting, which should be a good temperature for most people. Wait until it vibrates and the light turns green, then hit it. When it stops producing a satisfying amount of vapor, either double click the button to put it into boost mode, or turn it off if you're done. If you still want more vapor from this session, triple-click the button for maximum heat to finish it off.
Draw however you like
The Crafty+’s excellent cooling unit has very little resistance, which means you can basically pull as fast or as slow as you like. The default temperature setting is good for easy hits without too much conduction, which is very forgiving, so the Crafty+ is easy to pass around and share.
No need to stir
With excellent efficiency, and some late-session conduction, the Crafty+ shouldn’t need any stirring to ensure an even cook on your herbs. If you do find you have uneven spots inside your oven after you’re done, try packing it a little looser, or use the included stirring tool tucked into the bottom of the vape.

Clean up
Our full cleaning and maintenance guide will walk you through the process of deep cleaning your Crafty+ vaporizer, but you can take a couple of steps to save some time down the road. Make sure to dump out the oven after each session, and use a brush to clean off the screen and inside of the oven. You can also use the included dosing capsule to keep the inside of the oven clean, and soak the capsule in isopropyl alcohol when it gets dirty.